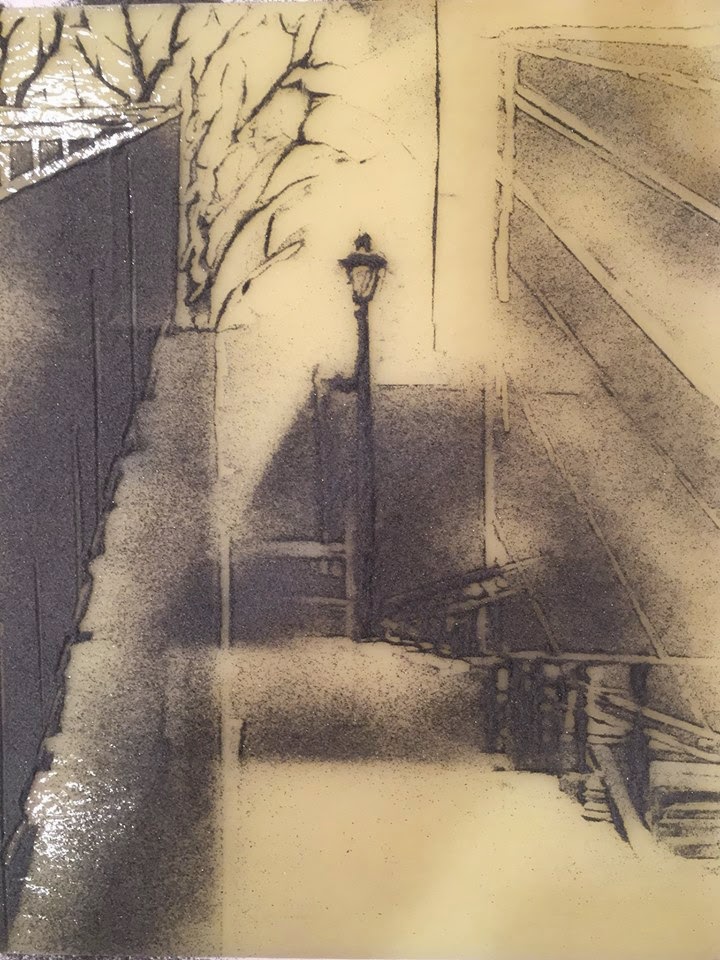
Today's Fused Glass Sgraffito Drawing Challenge will build on the skills you've been learning through your practice so far. Now, let's sharpen how we see.
A safety pin is a fabulous subject for so many reasons... It's a simple object that everyone is familiar with, but still a difficult little bit of a thing though, isn't it? That's what makes it a great challenge! Plus, if you get really frustrated you can open it and poke someone.
Just kidding.
Here are some hints at how you can tackle this tiny shiny.
Really LOOK at the pin. Study it and find the edges where dark and light meet. Lines are essentially 'darks meeting lights'. Finding those places, instead of just drawing a line in the shape of the pin will be important if you want to make the pin look shiny.
Pay careful attention to the negative space around and inside the safety pin. Getting to know the shapes around the pin itself will help you get the shape of the actual pin right.
2. Your wide range of values (light, middle, dark) will determine whether your safety pin looks flat and dull, or sharp and shiny. Find those edges where light and dark meet. They're not always where you think they are!
Here is a tiny reward... it's not a video (need more arms) but you can at least see a step by step progression. I did a similar piece as a class demo last weekend and then dropped my phone on it right before I was going to fire it. That one went bye bye...
This one is going to be much better.
I'll post more as it goes along.
*please don't copy these photos without asking permission, thanks!
~~~~~~~~~~~~~~~~~~~~~~~~~~~~~~~~~~~~~~~~~~~~~~~~~~~~~~~~~~~~~~~~~~~~~
 |
| one |
 |
| four |
 |
| five |
 |
| seven |
 |
| eight |
 |
| six |


No comments:
Post a Comment
Thanks for your comment!